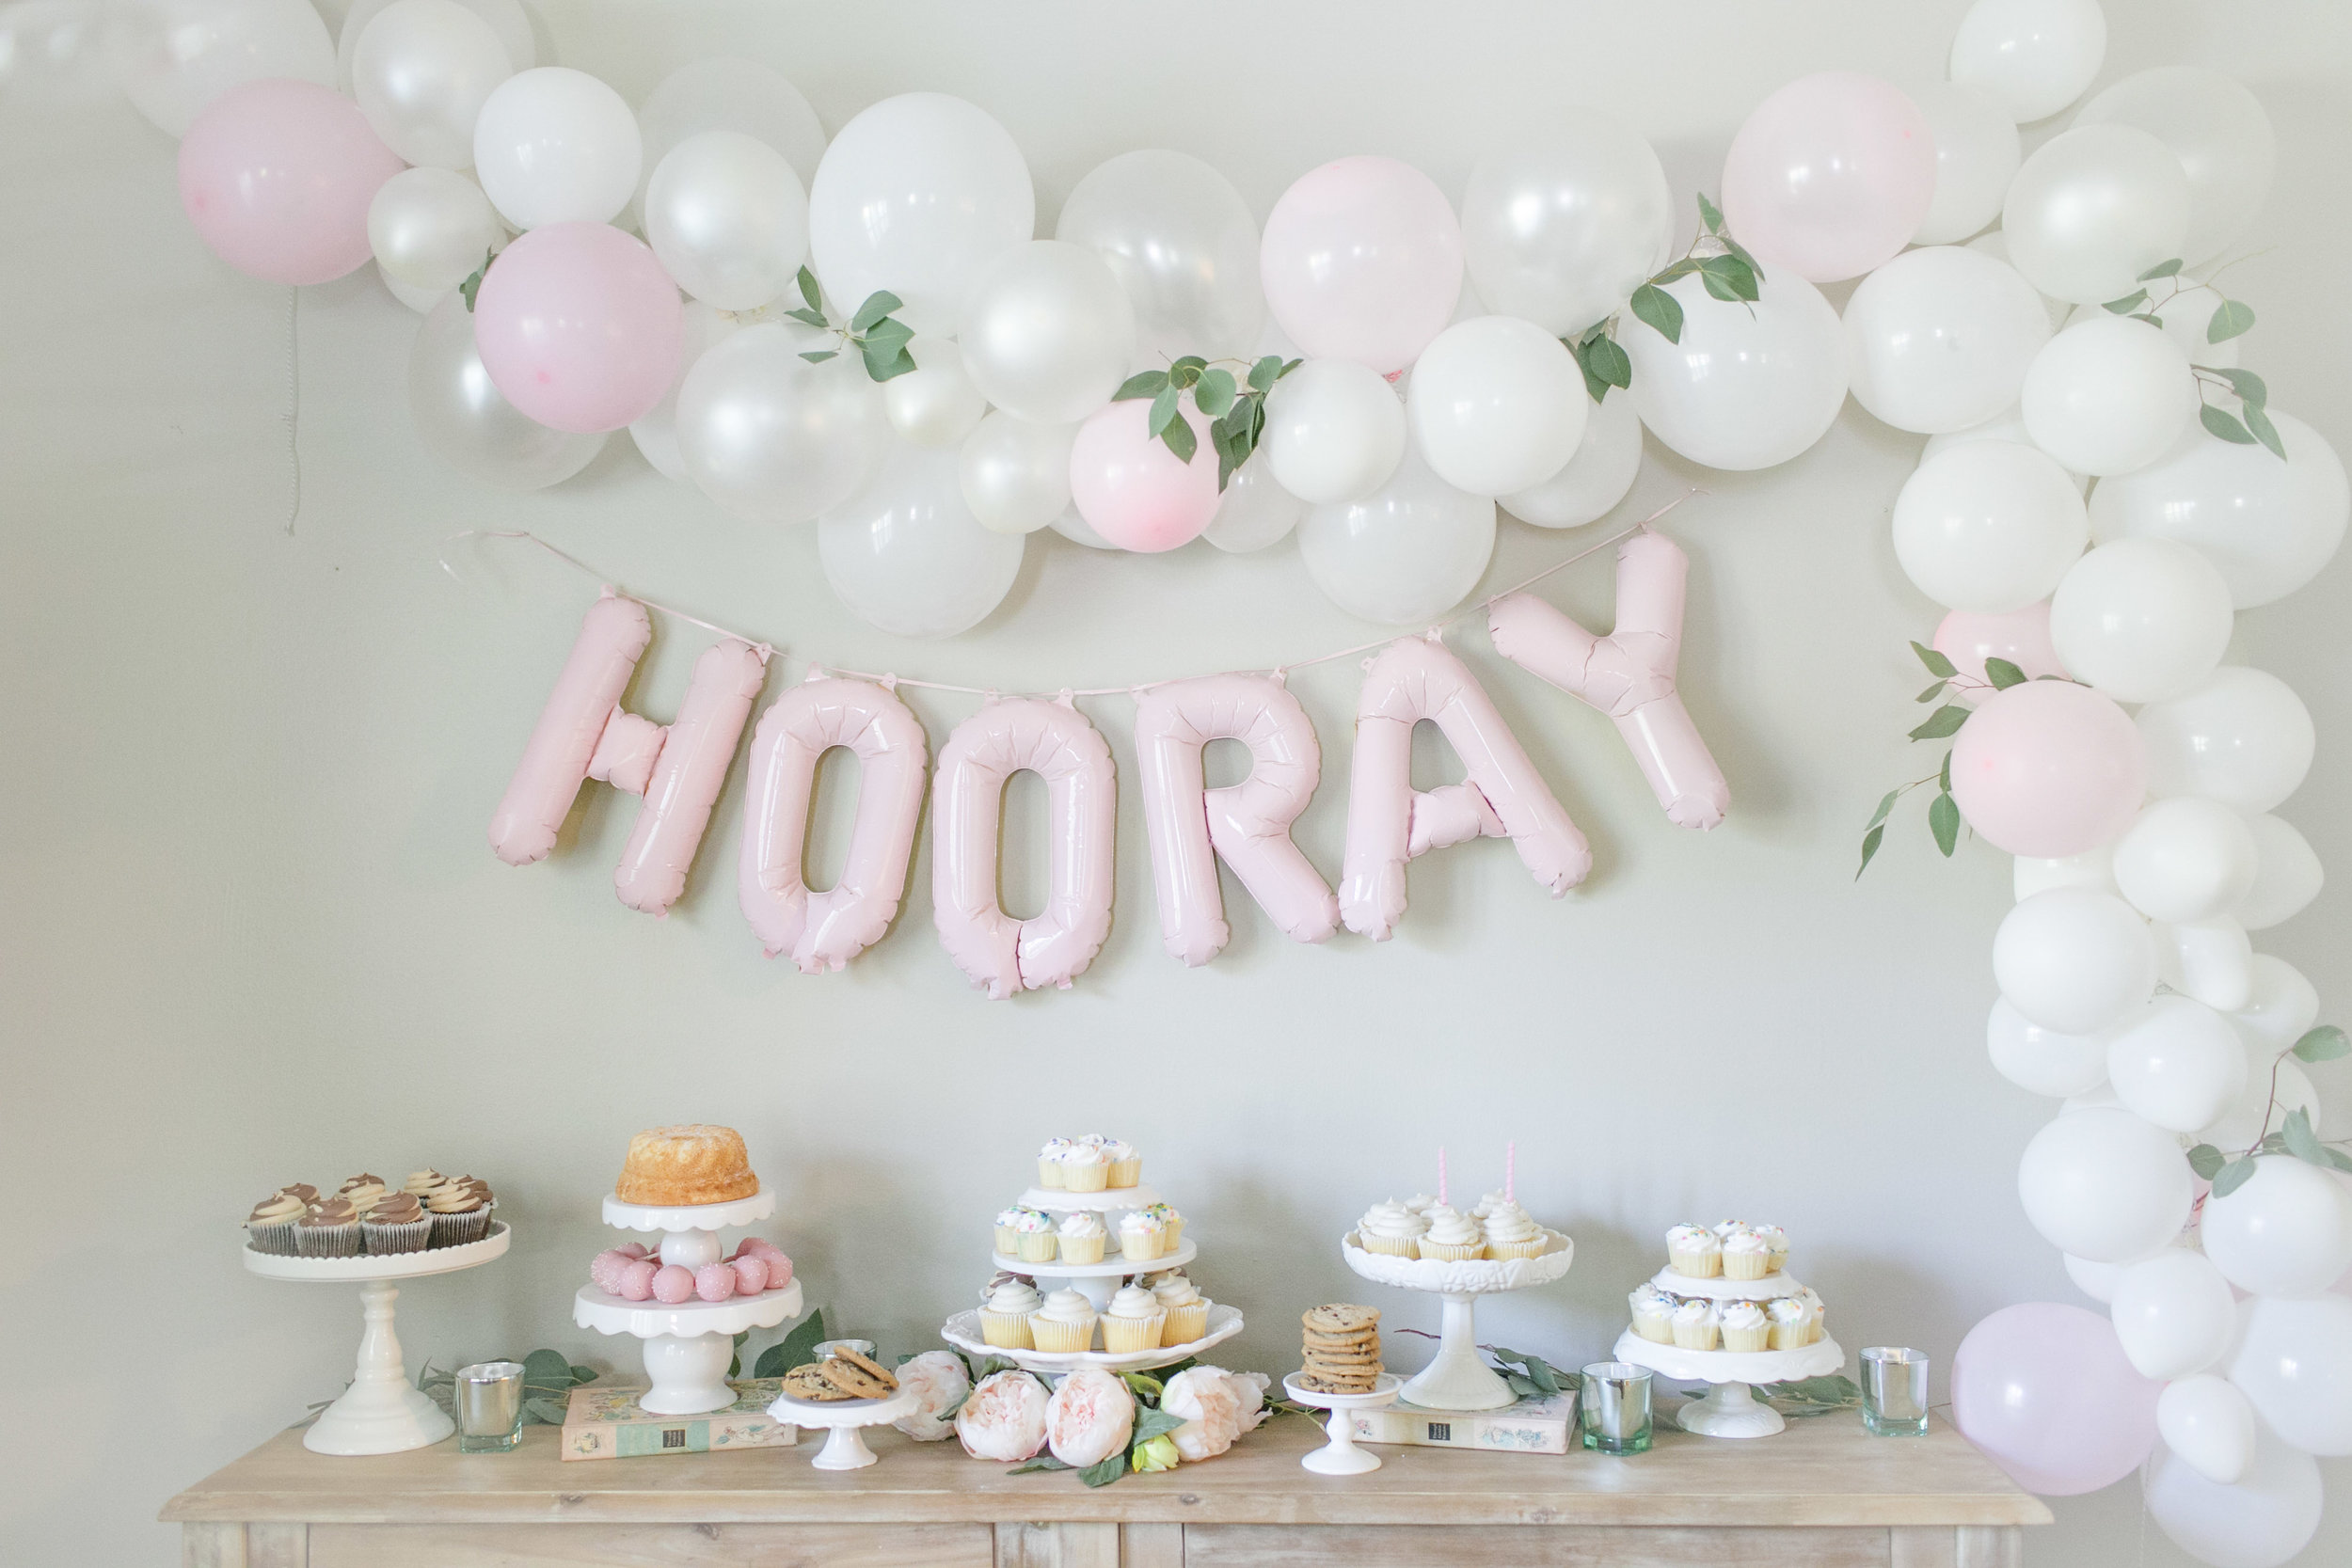
Hi! I'm excited to share this DIY Balloon Garland tutorial with y'all today because it actually ended up being pretty simple to create. You also really don't have to be the queen of the crafty to make it happen! If you're someone that (like me!) normally likes for things to be very exact, you'll have to silence that part of your brain for this one. It is a little more whimsical.Let's jump right in!
What you'll need:
What to do:
Begin by measuring your space. I took the bakers twine and stretched it across the wall and down the side and then left a few feet on each end. Go ahead and attach your command hooks to the wall so they can be settling in.Next, you'll want to turn on a good show and start blowing up those balloons! You can get a pump to make this process a lot less labor intensive. I didn't even consider that so needless to say I was pretty winded by the end of it! As you're blowing up the balloons, be sure to include four different sizes. Large, medium, small, and smaller. I know the "smaller" part sounds silly but they work great as fillers once you get to the end.Once you've got all your balloons blown up, you'll want to take your extra bakers twine and cut it into strips. You'll need about 85 strips. One for each balloon. Tie a knot around the base of each balloon and set aside.
 Now get a chair and tie one end of your previously measured twine to the top of the chair. If you have the space to spread out, you can attach the other end to another chair so the twine is suspended in air. This just makes the balloons a little easier to work with.Now you just start taking different size balloons and tying them to the twine. Once you tie it on (double knot!), just slide it down to the end. The more you attach, the more you'll start to see it take shape. If you're doing a lot of one color with an accent, I would advise going ahead and adding all the same color balloons first and then at the end adding the accent color balloon.Once all your balloons are attached, you'll tie each end of your measured twine to the command hook and start adjusting the balloons. This will involve quite a bit of moving around but after a few minutes, you'll get the hang of it.I removed and reattached a few balloons to get it exactly how I wanted so don't feel defeated if you have to do that!I added a few sprigs of eucalyptus throughout just to give it a little more depth and texture. There's no trick to that except just sliding them in and hoping they stay put!I hope this helps y'all with future party planning! It's crazy that the whole project cost less than $20 yet it was SO beautiful as a backdrop for the party!Please let me know if you have questions about the process. I'm not balloon expert but I am happy to help where I can!Thanks for reading!


 Some of you may not know that I used to own a wedding planning business. I absolutely loved this season of my life and there are still times when I miss it, but I knew after I had Reese, I didn't want to keep that kind of schedule anymore. I worked all weekend almost every weekend and also a lot of evenings. It made family time too rare so I decided to step out of it and I've never looked back.I learned a LOT from the industry while I was in it so I want to share a few tips on how to be the BEST guest at the wedding!1. Send your gift before hand. It's so thoughtful to give a gift in any capacity at all, but if you really want to take thoughtful to the next level, consider delivering the gift before the wedding. One of the hardest parts of the wedding day is when it's midnight, everyone is exhausted, the bride and groom are off, and the family has to load tons of gifts into a car. Then unload at a hotel so they don't get stolen, then load them back up, the take them home. It's a lot of work! Sending the gift beforehand means one less thing for you to have to worry about when attending the wedding and it makes life SO much easier for the family of the bride and groom.2. Arrive on time: Ok, let me clarify something... to arrive "on time" at a wedding means to arrive 30 minutes before the ceremony is supposed to begin. This is the sweet spot. If you arrive any earlier than that, set up is still taking place. Too much later and you're walking in with the processional. As a wedding planner there were few things more frustrating than trying to line up the wedding party and trying to figure out where to put late guests.3. Participate: One of my favorite memories from my own wedding was dancing with our friends and family. I loved seeing people eat cake and take favors. Some of the smallest details of my wedding made the most impact for me when I saw people enjoying them. So when you attend a wedding, know that you're an invaluable part of the overall experience for the couple and their family. Put down your phone and just be present.4. Stay Til The End: All the men would be rolling their eyes at this point, I know. But when you go to a wedding, try not to be in a rush to leave it. The amount of time, energy, and money that goes into weddings these days is insane. The couple planned this entire experience with their guests in mind! Instead of rushing to leave whenever you can, consider planning ahead to just stay til the end. It will mean so much to bride and groom to see your face lined up wishing them farewell as they go to leave! Now that we've covered some of the ways you can make yourself the favorite wedding guest, let's talk about how you can be the best looking!I'm absolutely LOVING the jumpsuit trend right now. It's so classy and comfortable. Easy to dress up and down and totally appropriate for a wedding. My pink high neck jumpsuit is linked

 Here are a few of my other wedding wear suggestions![showboutiquewidget id="635798"]
 Hi, friends!I'm so grateful that you're here today! This post has been a long time coming and if you'd asked me a year ago, I probably would have told you it would never come. But here it is and I'm just so full of gratitude to be able to share this little part of my story.About a year and a half ago, our whole life turned upside down when my husband Matt had a horrible relapse. He was diagnosed his senior year of high school with an auto immune disease and throughout most of our marriage, we have been able to keep it under control. Things were spiraling out of control around Christmas time in 2015 and we felt helpless as to what was going on and how to stop it. Finally in January Matt was admitted to the hospital and had emergency surgery. Turns out, he was almost septic and in a very dangerous situation. The surgery was a temporary fix but he would end up being in the hospital for over three weeks and then in and out of the hospital for the next year to follow.I say all that to give you a little glimpse into what our lives looked like when I thought to myself "Hey, maybe a blog would be a good idea!" Ha! I was in the hospital one day with Matt when I got this sinking feeling that he might not ever be able to go back to work. I started wondering what we would do. Since he owns his own business, if he doesn't work, we find ourselves in a pickle! I also knew that our medical expenses were going to start adding up. The anxiety started causing me to dip further and further into fear.I was willing myself to take deep breaths when I got this thought "I should start blogging again." I had dabbled with it a bit before but let it go while my babies were really little. I even had the crazy idea that maybe I could make it into a business and actually help support my family, all the while staying home with my babies. It still felt like a dream.
 At the time, I'm pretty sure I had about 5 followers on Instagram and couldn't even remember my blogger password. I was also frazzled and un-showered any given day of the week. I loved putting outfits together and I loved helping other people. So if I could help other people put outfits together, I may actually stumble into something I really enjoy.A few weeks later we were back in the hospital but this time, Matt was well enough to be able to walk around a bit. We took an afternoon walk around the hospital/college campus and it was a glorious day. I was so nervous but I said "Hey, babe. I know this sounds crazy. But could you take a picture of me?" My sweet Matt has really never thought any of my ideas were crazy (bless him) so he said yes of course. So there he was barely able to walk, still in so much pain and he's taking my very first OOTD. There I am with confidence the size of a mustard seed watching all these people walk by while I'm trying to act natural for the picture. Looking back it was just so funny and precious at the same time.I posted the picture that afternoon and then decided to keep on going. My goal was to reach 1000 followers on Instagram and I made myself a promise that even if it was hard, I wouldn't give up til I had at least given it a year.
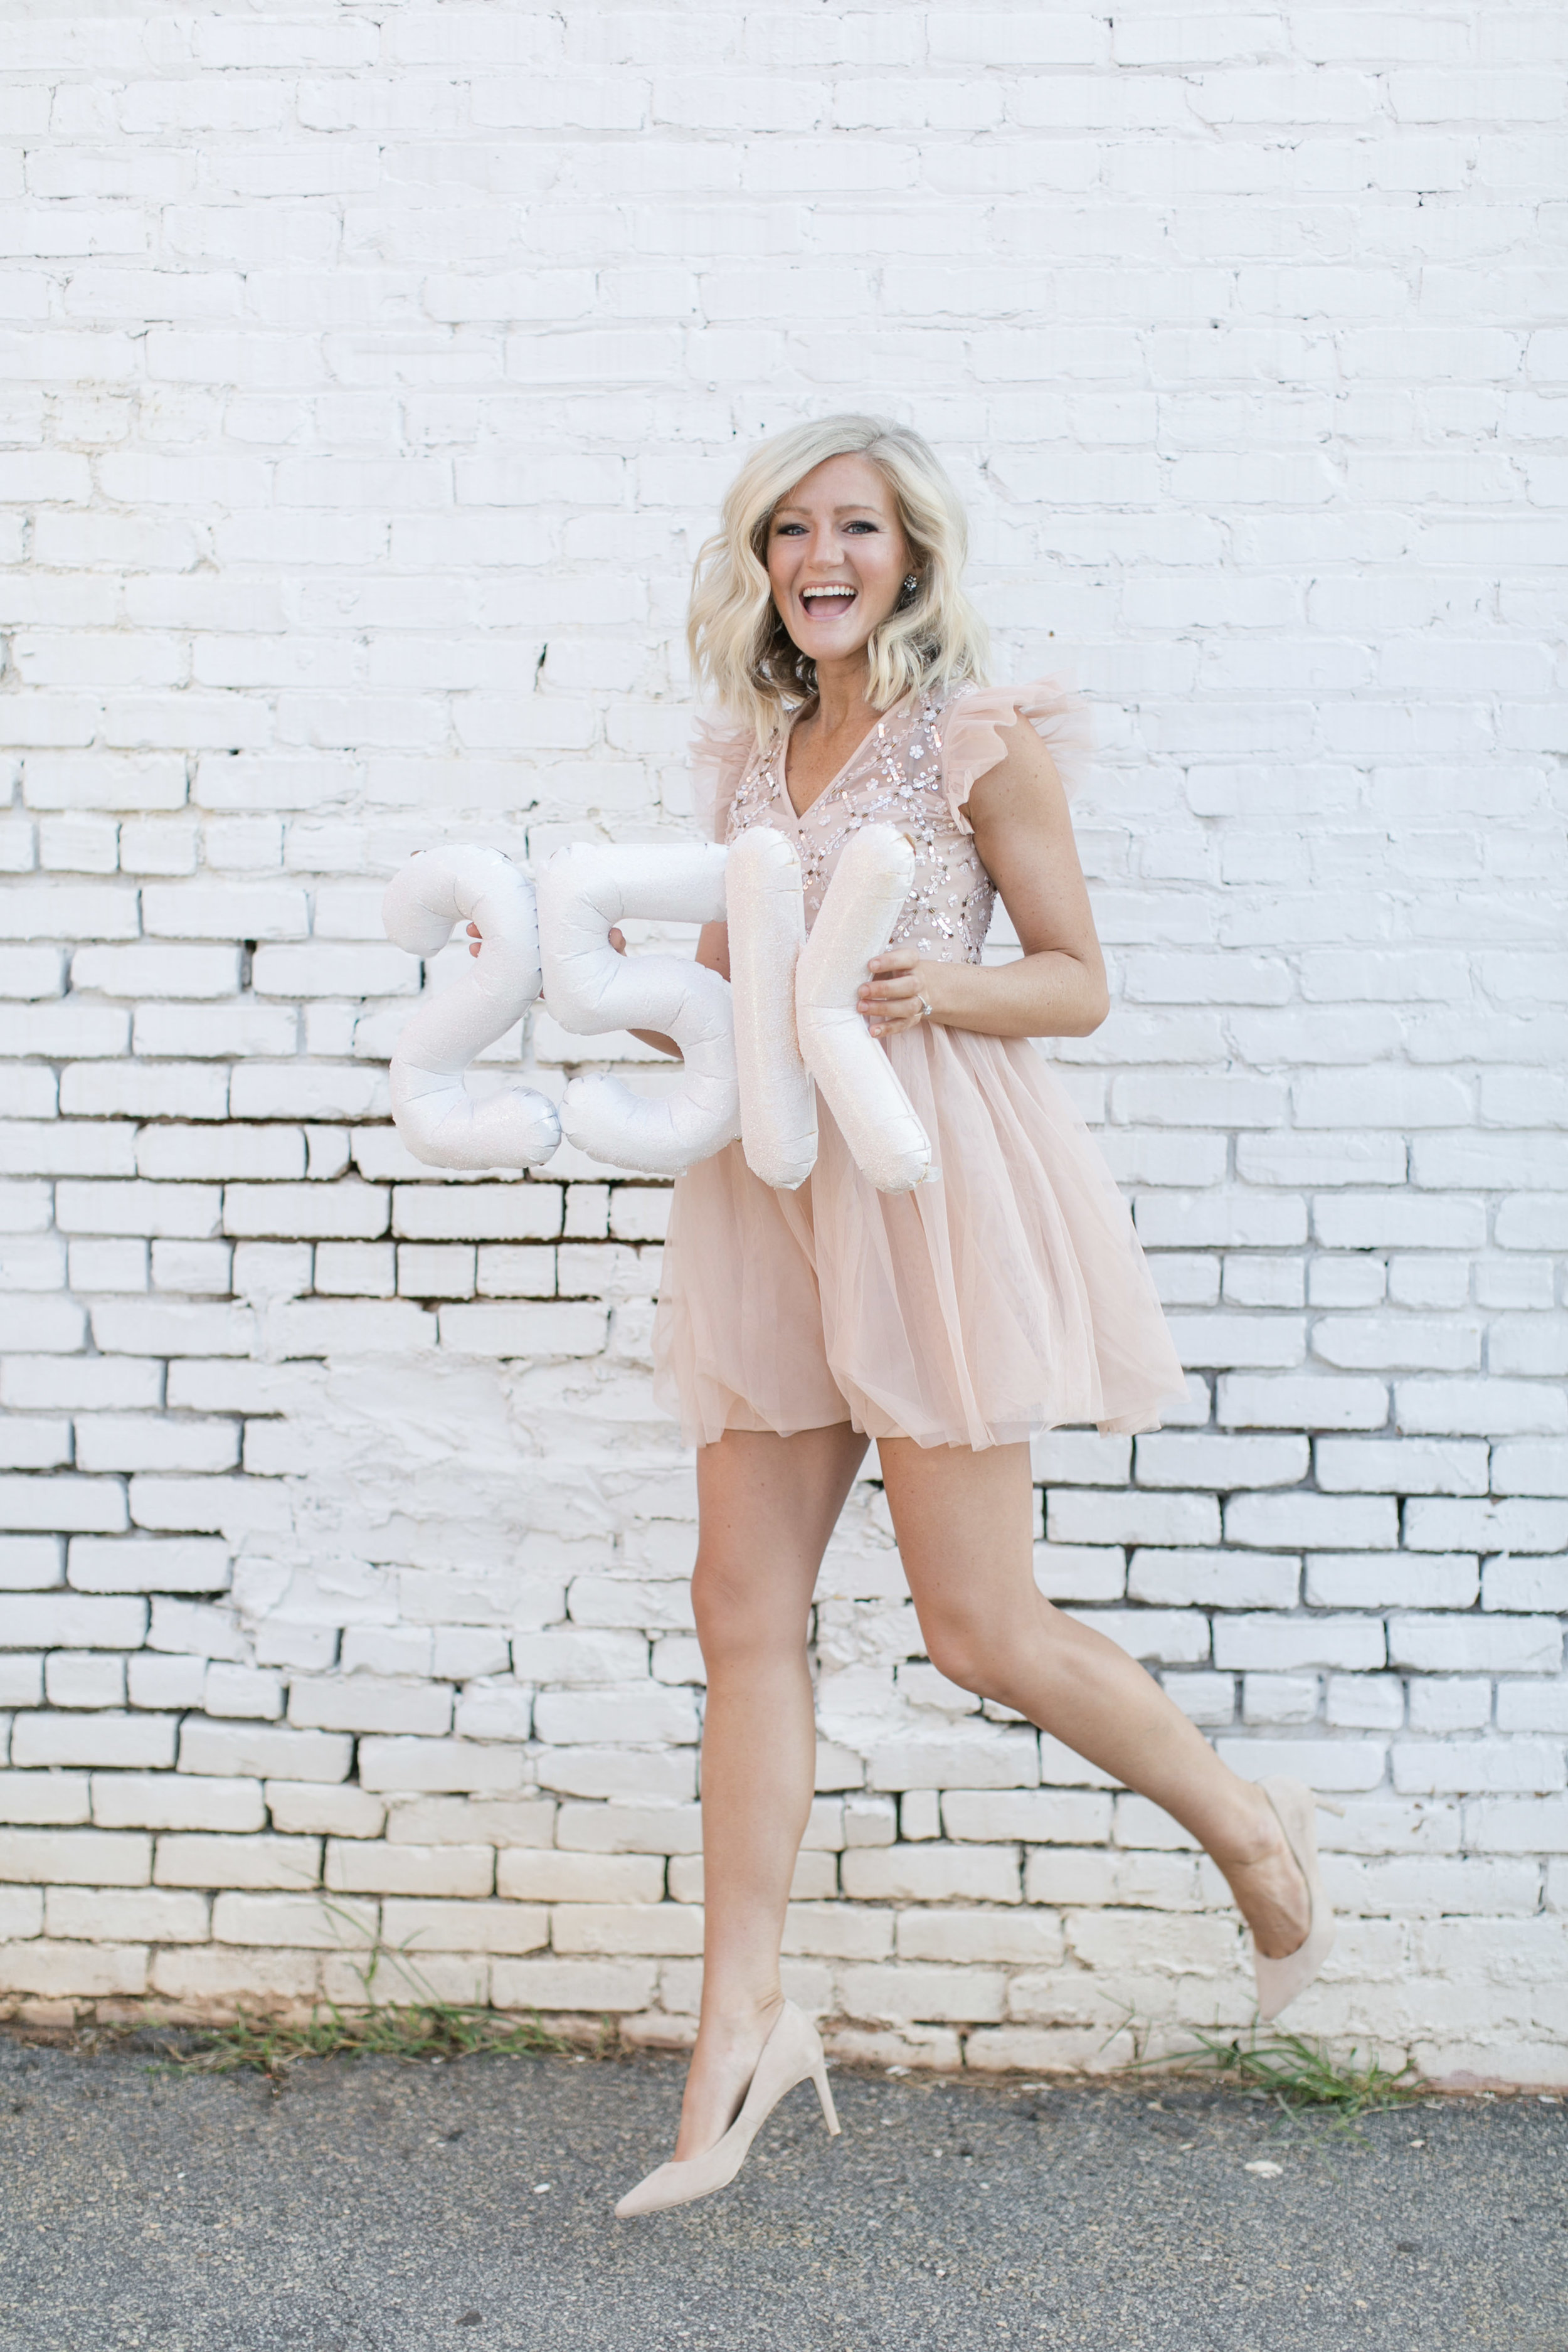
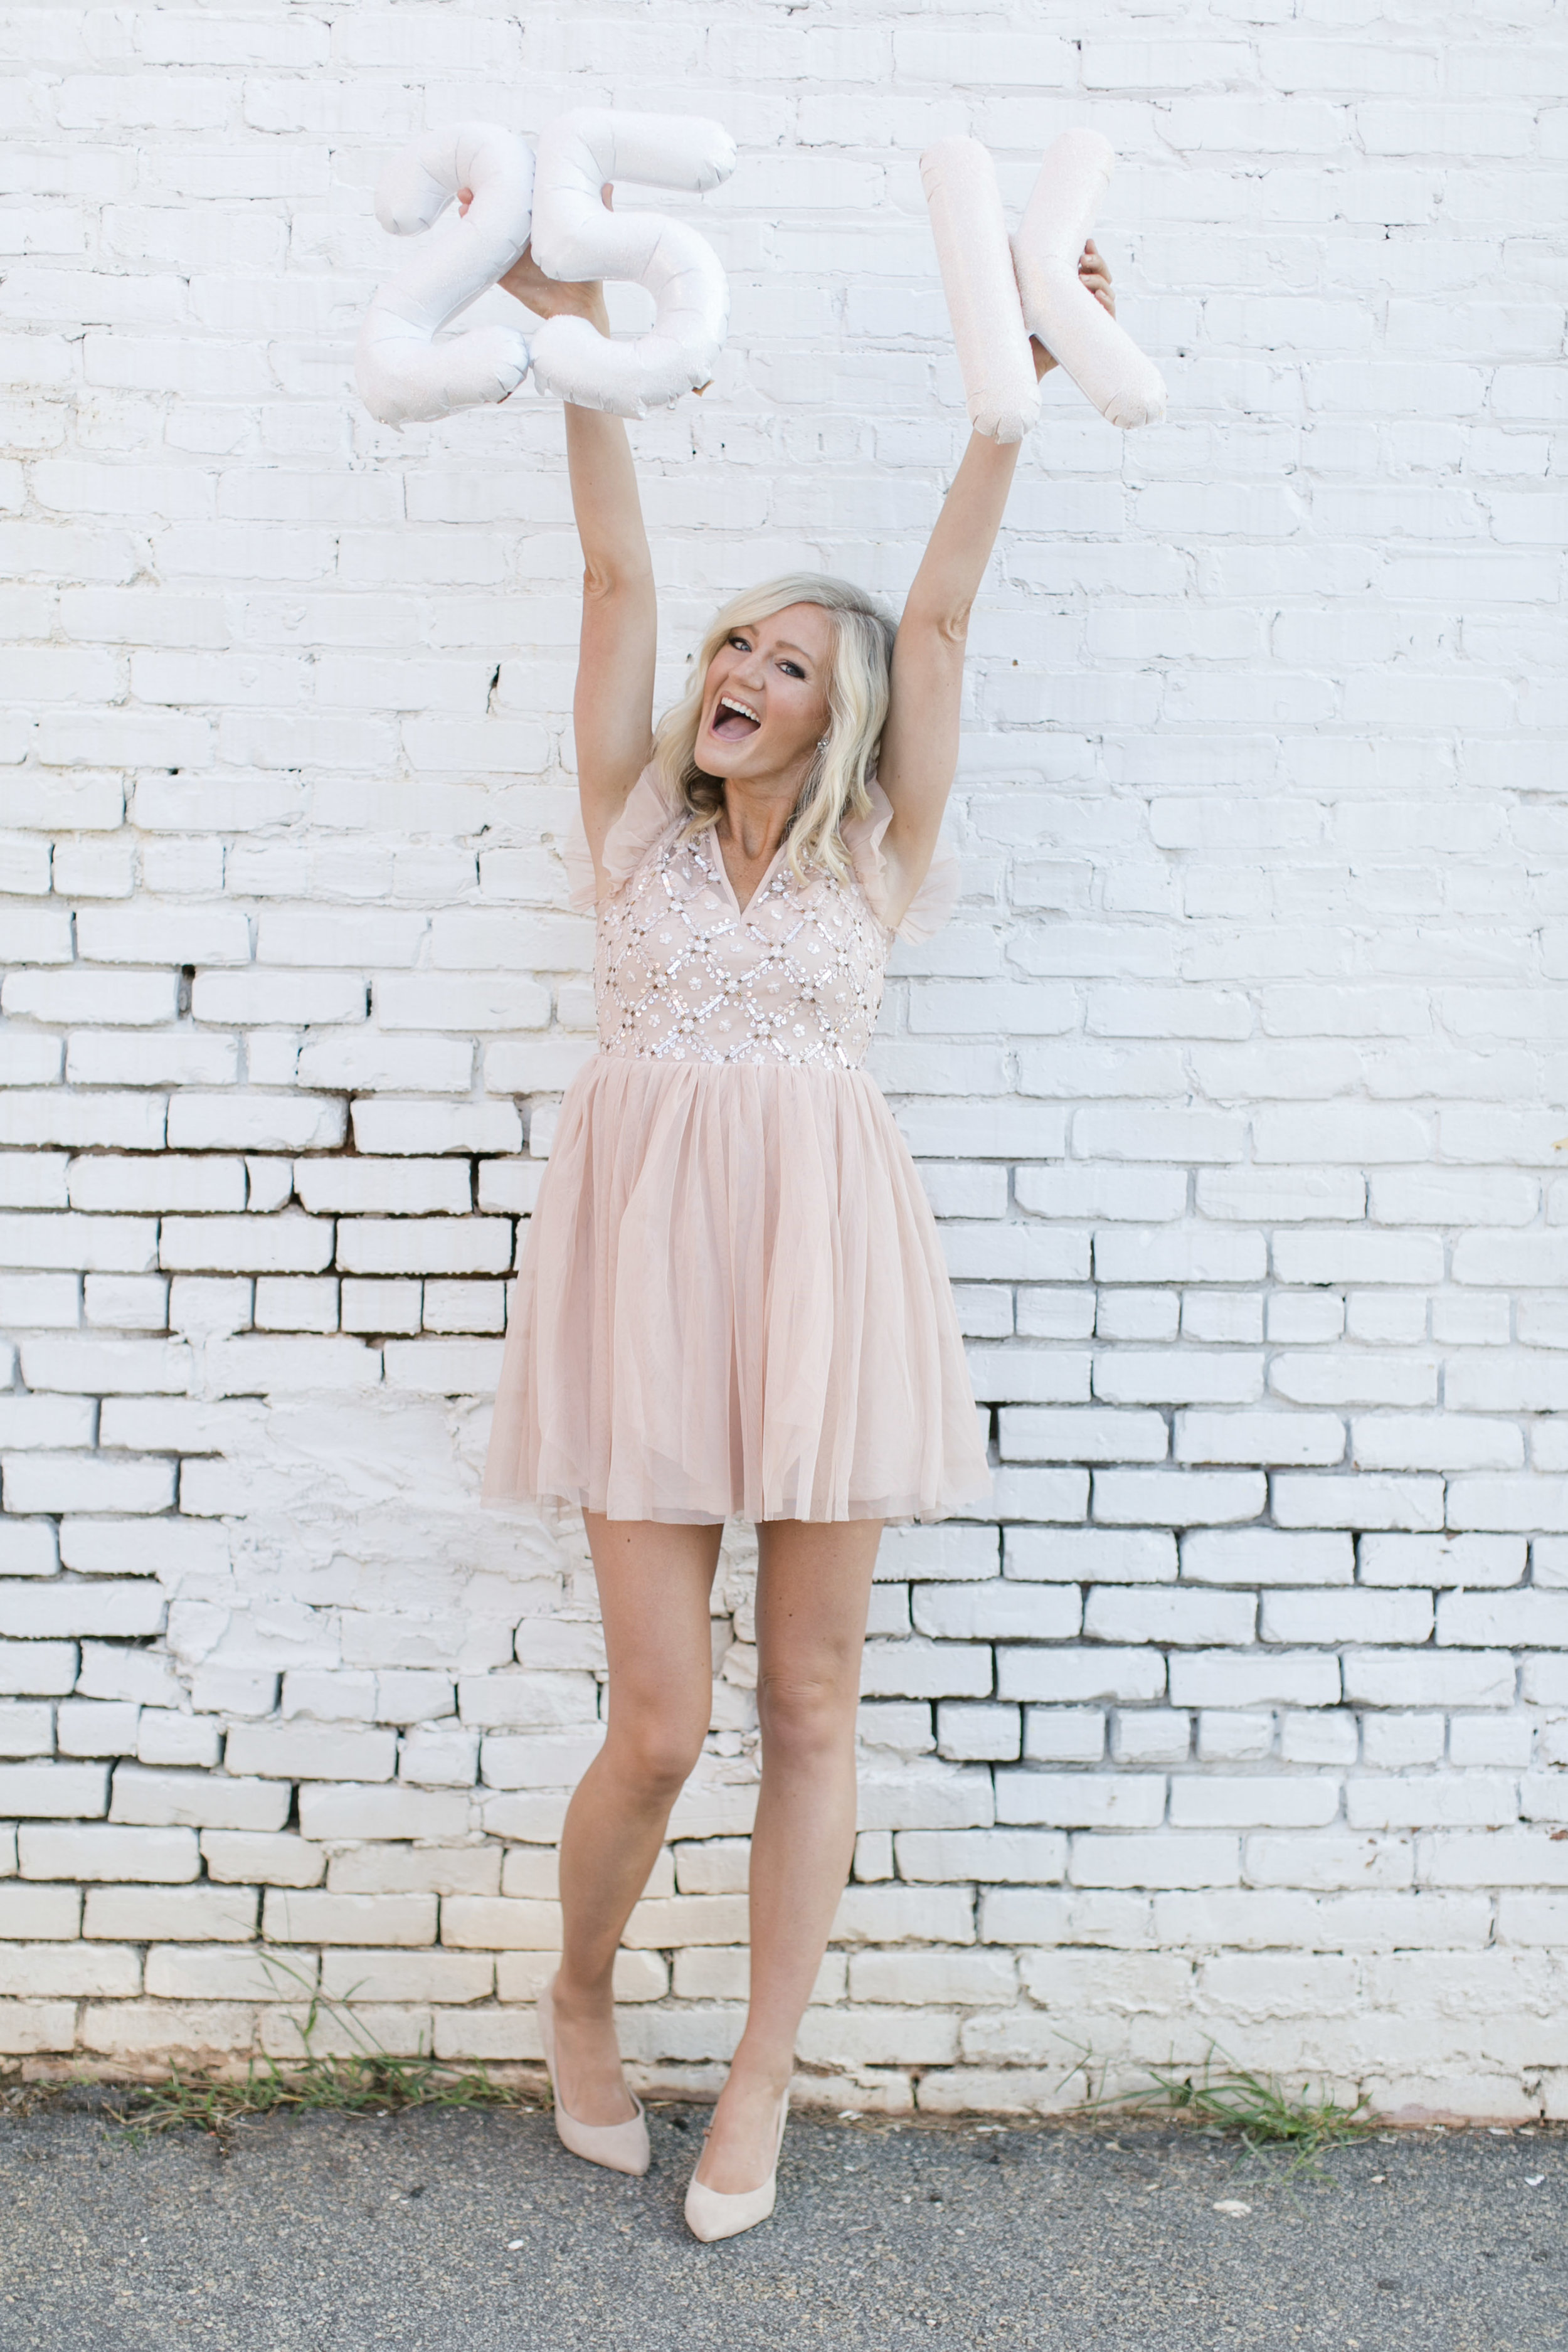
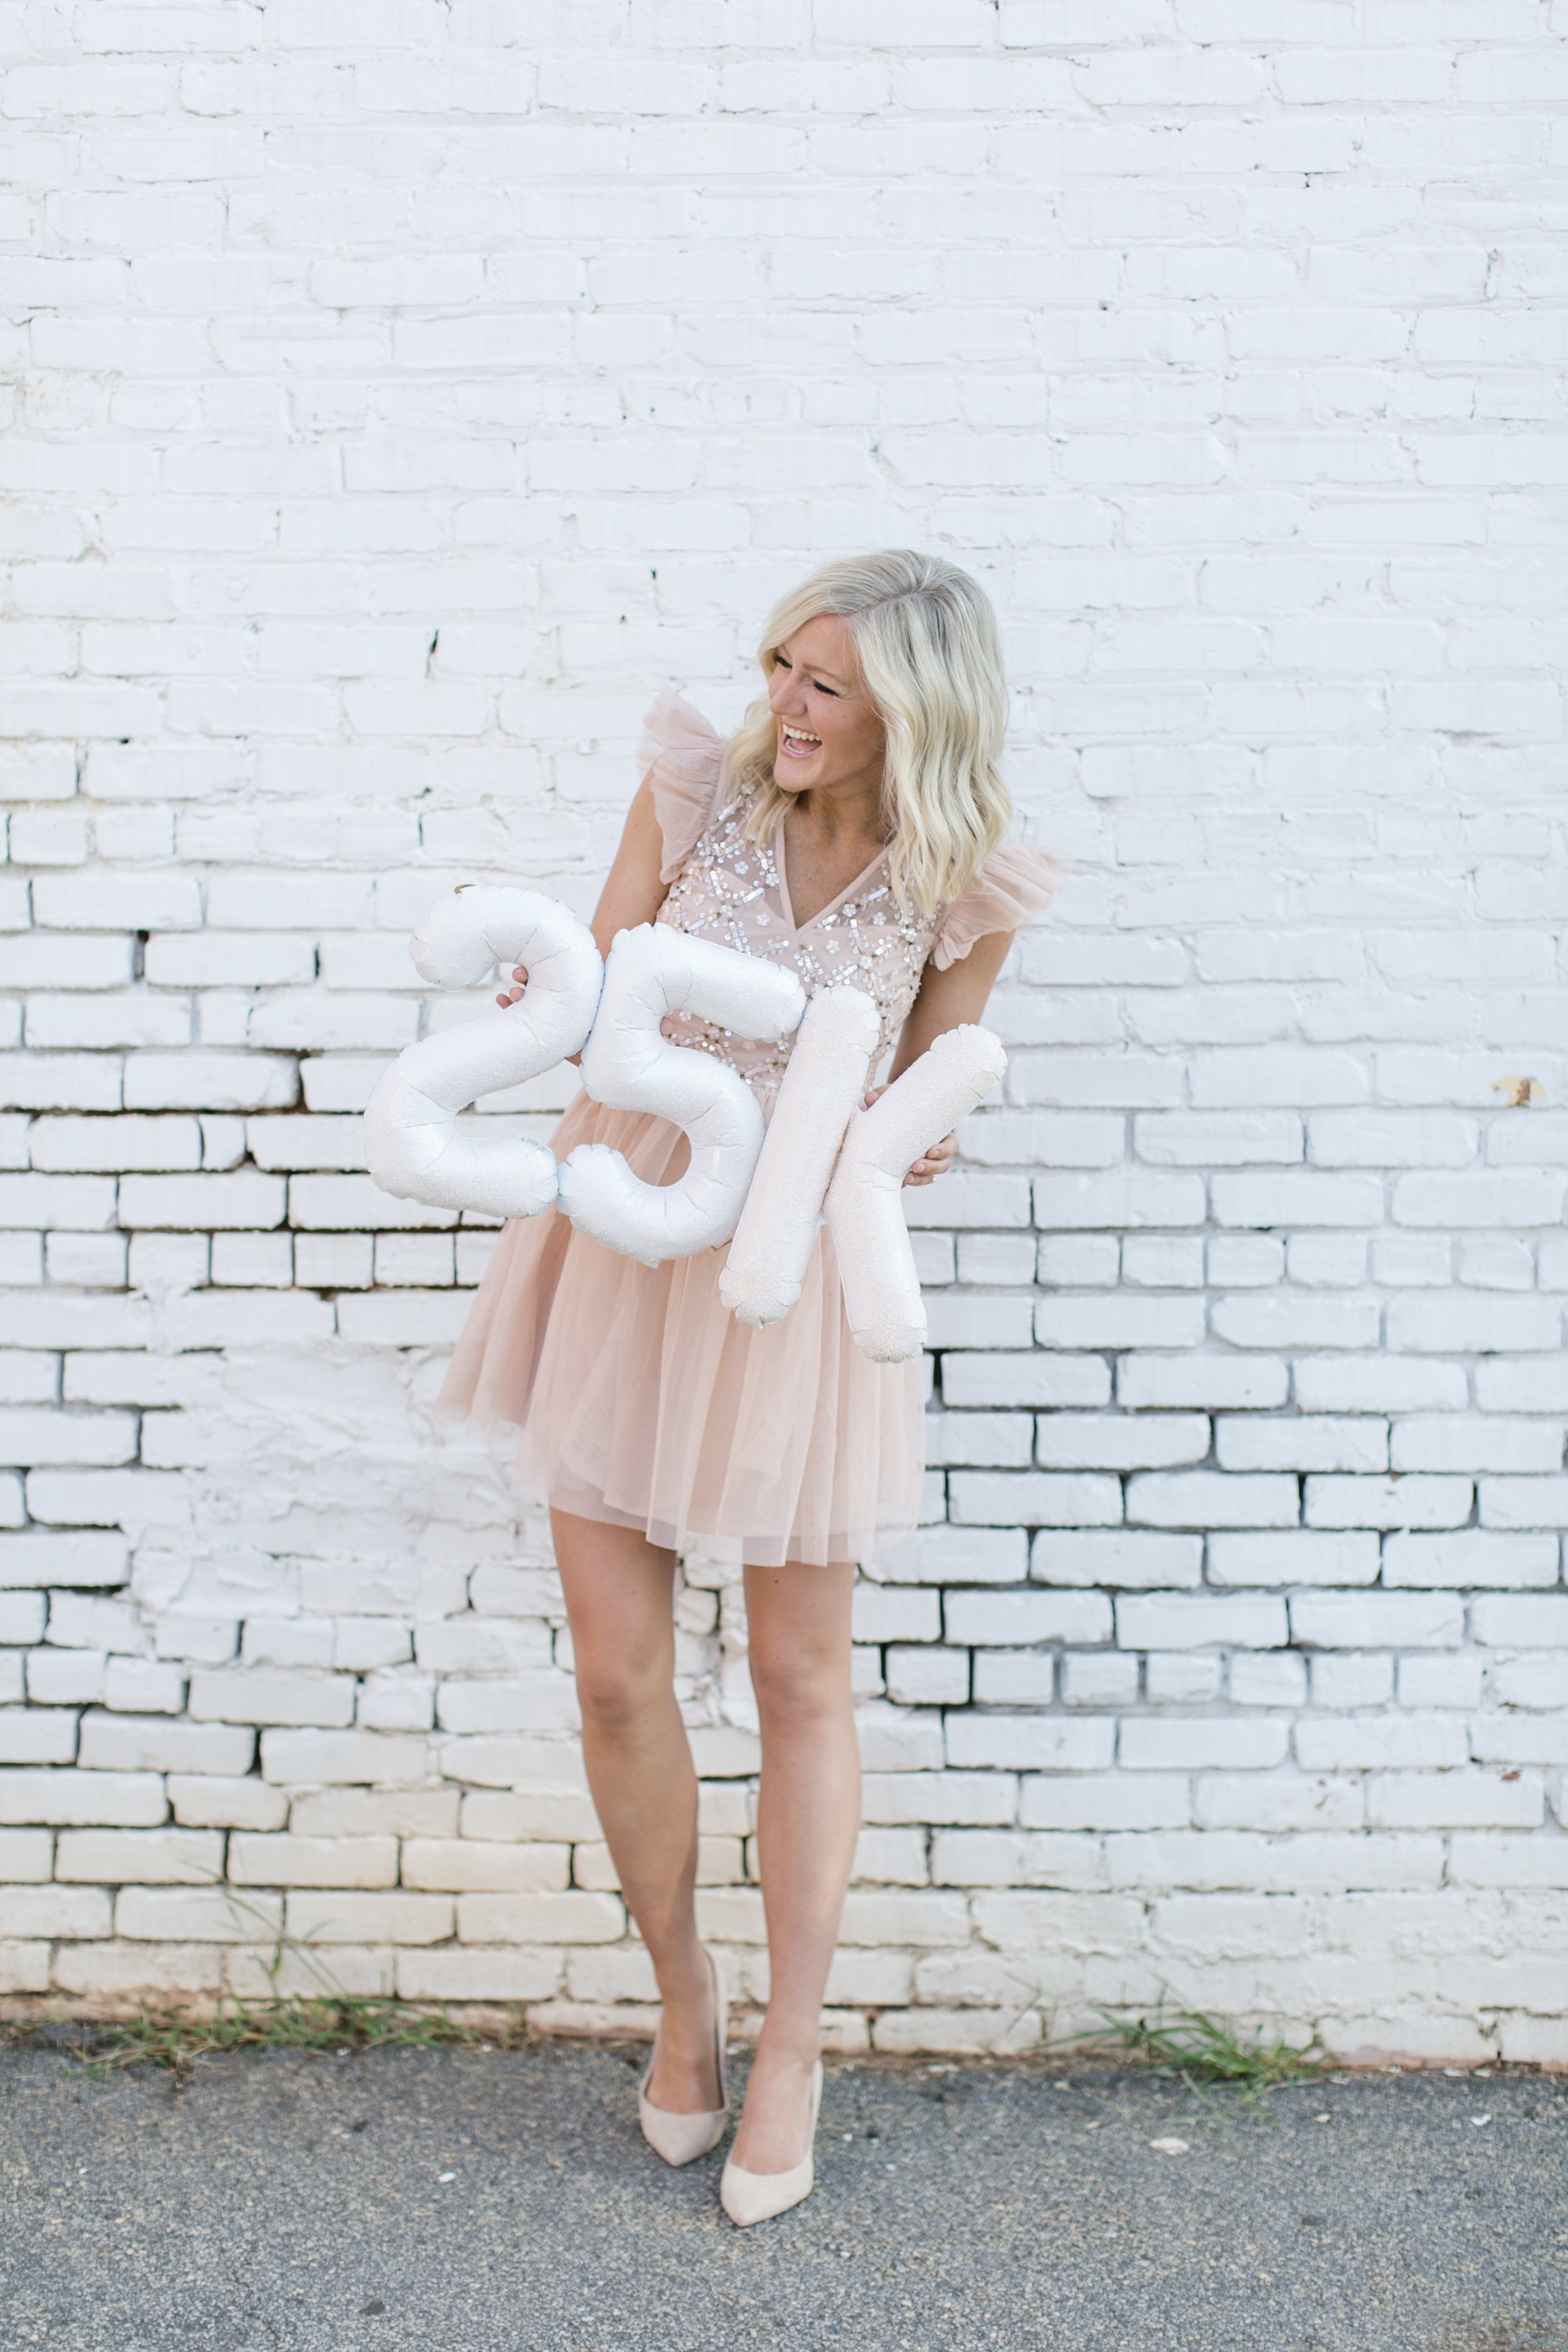
 Now into year two and here we are at 25 THOUSAND of you following along and being a part of our every day lives. You guys are the ones that have sent countless prayers up on our behalf when Matt's been sick and you've laughed alongside me in this hilarious journey of motherhood. Yes, we have talked a lot of clothes but I think we've done more than that. My dream for this space has always been to build a community where we encourage and lift each other up. One of my favorite Proverbs tells a story about a wife of Noble Character. it describes her as being clothed in fine linen and purple, which would be equivalent to suede and Louie Vuitton (or something close to that!) but it also says she is clothed with strength and dignity. The two don't have to mutually exclusive. I want to learn to do both well.I have learned SO much about myself over this past year and a half and I am really SO grateful to those of you who have followed along with me and given a lot of grace as I've learned what the heck I'm doing.This week is all about celebrating YOU GUYS and I'm excited to be giving away a few of my favorite things as a way to say THANK YOU!All my love to all of you! You are a blessing to me and I'm so so so grateful that you're not just followers, you're FRIENDS!Thank you!!!!!All my love to YOU!


 I love that the color of the sweater is slightly lighter on the bottom and gets a little deeper at the top. I also love the cutout detail by the hem.Sweater linked